Why kali linux instead of Windows
Kali Linux
Kali Linux is a Debian-derived Linux distribution designed for digital forensics andpenetration testing. It is maintained and funded by Offensive Security Ltd. Mati Aharoni, Devon Kearns and Raphaël Hertzog are the core developers.
Kali Linux
DeveloperOffensive SecurityOS familyUnix-likeWorking stateActiveLatest release2017.1[1] / April 25, 2017; 37 days agoPlatformsx86, x86-64, armel, armhfKernel typeMonolithic kernel(Linux)Default user interfaceGNOME 3LicenseVariousOfficial websitewww.kali.org
FeaturesEdit
Kali Linux has a dedicated project set aside for compatibility and porting to specific Android devices, called Kali Linux NetHunter.[10]
It is the first Open Source Android penetration testing platform for Nexus devices, created as a joint effort between the Kali community member “BinkyBear” and Offensive Security. It supports Wireless 802.11 frame injection, one-click MANA Evil Access Point setups, HID keyboard (Teensy like attacks), as well as Bad USB MITM attacks.[10]
BackTrack (Kali's predecessor) contained a mode known as forensic mode, which was carried over to Kali via live boot. This mode is very popular for many reasons, partly because many Kali users already have a bootable Kali USB drive or CD, and this option makes it easy to apply Kali to a forensic job. When booted in forensic mode, the system doesn't touch the internal hard drive or swap space and auto mounting is disabled. However, the developers recommend that users test these features extensively before using Kali for real world forensics.[11]
ToolsEdit
Kali Linux includes many well known security tools, including:[12]
Wireshark
Social EngineeringToolkit
Maltego
EttercapOWASP
Now we will talk about how to install Linux
Kali Linux Encrypted Disk Install
/03. Installing Kali Linux /Kali Linux Encrypted Disk Install
At times, we have sensitive data we would prefer to encrypt using full disk encryption. With the Kali Installer, you can initiate an LVM encrypted install on either Hard Disk or USB drives. The installation procedure is very similar to a “normal Kali Linux Install”, with the exception of choosing an Encrypted LVM partition during the installation process.
Kali Linux Encrypted Installation Requirements
Installing Kali Linux on your computer is an easy process. First, you’ll need compatible computer hardware. The hardware requirements are minimal as listed below, though better hardware will naturally provide better performance. The i386 images have a default PAE kernel, so you can run them on systems with over 4GB of RAM. Download Kali Linux and either burn the ISO to DVD, or prepare a USB stick with Kali Linux Live as the installation medium.
Installation Prerequisites
A minimum of 20 GB disk space for the Kali Linux install.RAM for i386 and amd64 architectures, minimum: 1GB, recommended: 2GB or more.CD-DVD Drive / USB boot support
Preparing for the Installation
Download Kali linux.Burn The Kali linux ISO to DVD orImage Kali Linux Live to USB.Ensure that your computer is set to boot from CD / USB in your BIOS.
Kali Linux Installation Procedure
To start your installation, boot with your chosen installation medium. You should be greeted with the Kali Linux boot menu. Choose aGraphical or a Text-Mode install. In this example, we chose a GUI install.


NOTE! If you select “NO” in this screen, you willNOT be able to install packages from the Kali repositories.

Next, install GRUB.


Post Installation
Now that you’ve completed installing Kali Linux, it’s time to customize your system.
Some basic tricks of kali
Kali Linux Man in the Middle Attack
Firstly we will talk about Kali Linux Man in the Middle Attack. How to perform man in the middle attack using Kali Linux?we will learn the step by step process how to do this.
I believe most of you already know and learn about the concept what is man in the middle attack, but if you still don't know about this, here is some definition from wikipedia.
The man-in-the-middle attack (often abbreviated MITM, MitM, MIM, MiM, MITMA) in cryptography and computer security is a form of active eavesdropping in which the attacker makes independent connections with the victims and relays messages between them, making them believe that they are talking directly to each other over a private connection, when in fact the entire conversation is controlled by the attacker.
Scenario:
This is the simple scenario, and I try to draw it in a picture.

Victim IP address : 192.168.8.90
Attacker network interface : eth0; with IP address : 192.168.8.93
Router IP address : 192.168.8.8
Requirements:
1. Arpspoof
2. Driftnet
3. Urlsnarf
Step by step Kali Linux Man in the Middle Attack :
1. Open your terminal (CTRL + ALT + T kali shortcut) and configure our Kali Linux machine to allow packet forwarding, because act as man in the middle attacker, Kali Linux must act as router between "real router" and the victim. Read the tutorial herehow to set up packet forwarding in linux.
2. You can change your terminal interface to make the view much more friendly and easy to monitor by splitting kali linux terminal window.
3. The next step is setting up arpspoof between victim and router.
arpspoof -i eth0 -t 192.168.8.90 192.168.8.8

4. And then setting up arpspoof from to capture all packet from router to victim.
arpspoof -i eth0 192.168.8.8 192.168.8.90

5. After step three and four, now all the packet sent or received by victim should be going through attacker machine.
6. Now we can try to use driftnet to monitor all victim image traffic. According to itswebsite,
Driftnet is a program which listens to network traffic and picks out images from TCP streams it observes. Fun to run on a host which sees lots of web traffic.
7. To run driftnet, we just run this
driftnet -i eth0
When victim browse a website with image, driftnet will capture all image traffic as shown in the screenshot below.

To stop driftnet, just close the driftnet window or press CTRL + C in the terminal
8. For the next step we will try to capture the website information/data by using urlsnarf. To use urlsnarf, just run this code
urlsnarf -i eth0
and urlsnarf will start capturing all website address visited by victim machine.
9. When victim browse a website, attacker will know the address victim visited.

Here is the video in case you can't get the text explanations above.
Conclusion:
1. To change or spoof the attacker MAC address, you can view the tutorial about how to change kali linux MAC address.
2. Driftnet or Urlsnarf was hard to detect, but you can try to find the device in your network with promiscious mode which have possibliity to sniff the network traffic.
Hope you found it useful 
Penetration Testing Environment
Kali Linux provides you security tools for each phase and step of your penetration-testing project.
To accomplish this all of these tools are clubbed together under the Kali Linux tab in the applications.
Since Kali Linux as more than 300 tools which can be used as on need basis and security testers choice the best part is that all of these tools are organized as of there behavioral approach and for the purpose these tools written.
This gives you one box, which can act as a complete solution of your needs to perform any network security auditing and penetration testing. And you can further customize Kali Linux as of your requirements and experience on these security tools.
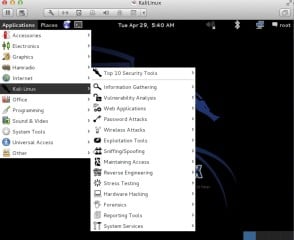
Figure 5. Moreover you can also find top 10- Security Tool separately in tabular way includes popular crackers, OWSAP-Zap, Maltego, Wireshark and last but not the least the famous Metasploit framework
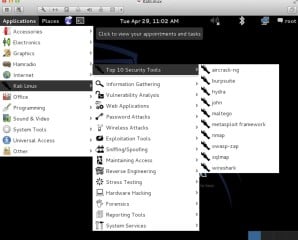
Figure 6. Penetration testing methodologies, which are most famous among the penetration testers and security consulting companies, have following four key phases, which are common among them
Information Gathering with Kali Linux
With Kali Linux you can easily perform all of these above highlighted phases. Before we explore more on information gathering with Kali Linux let me quickly cover active and passive types of info gathering.
Passive Information Gathering is something where you do not directly interact with the targeted system and this is usually gathering information from sources like search engines. Beneficial where you don’t want to alert the target side.
Active Information Gathering is the first step where you interact with target to gather information and this is the live method. This is more accurate but generate alerts at the target side.
As I mentioned that in active information gathering you interact with target hence you need tools for doing this for you. Now lets have look what Kali Linux have for performing active information gathering.
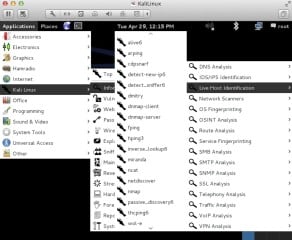
Figure 7. The above figure highlights the tools Kali Linux provides you for performing active information gathering. Ranging from protocol and DNS analysis, network scanning & operating system figure printing, what else you want?
Scanning the target with Kali Linux
At this stage of penetration testing, security experts need to scan the targets. Before you start hitting the target its better to check if the target is up and running.
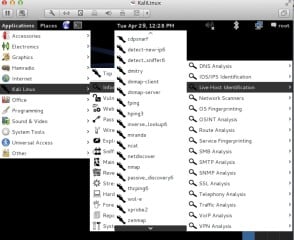
Figure 8. Kali Linux provides bunch of tools to scan the target for live systems and then fingerprint them easily. Below figure highlights the list of tools, which can be used in these steps
Vulnerability Analysis with Kali Linux
When security experts talk about vulnerability analysis, the most famous security product which almost all security experts use for vulnerability scanning is Nessus and unfortunately its not free for life therefore Kali Linux doesn’t include this tool by default.
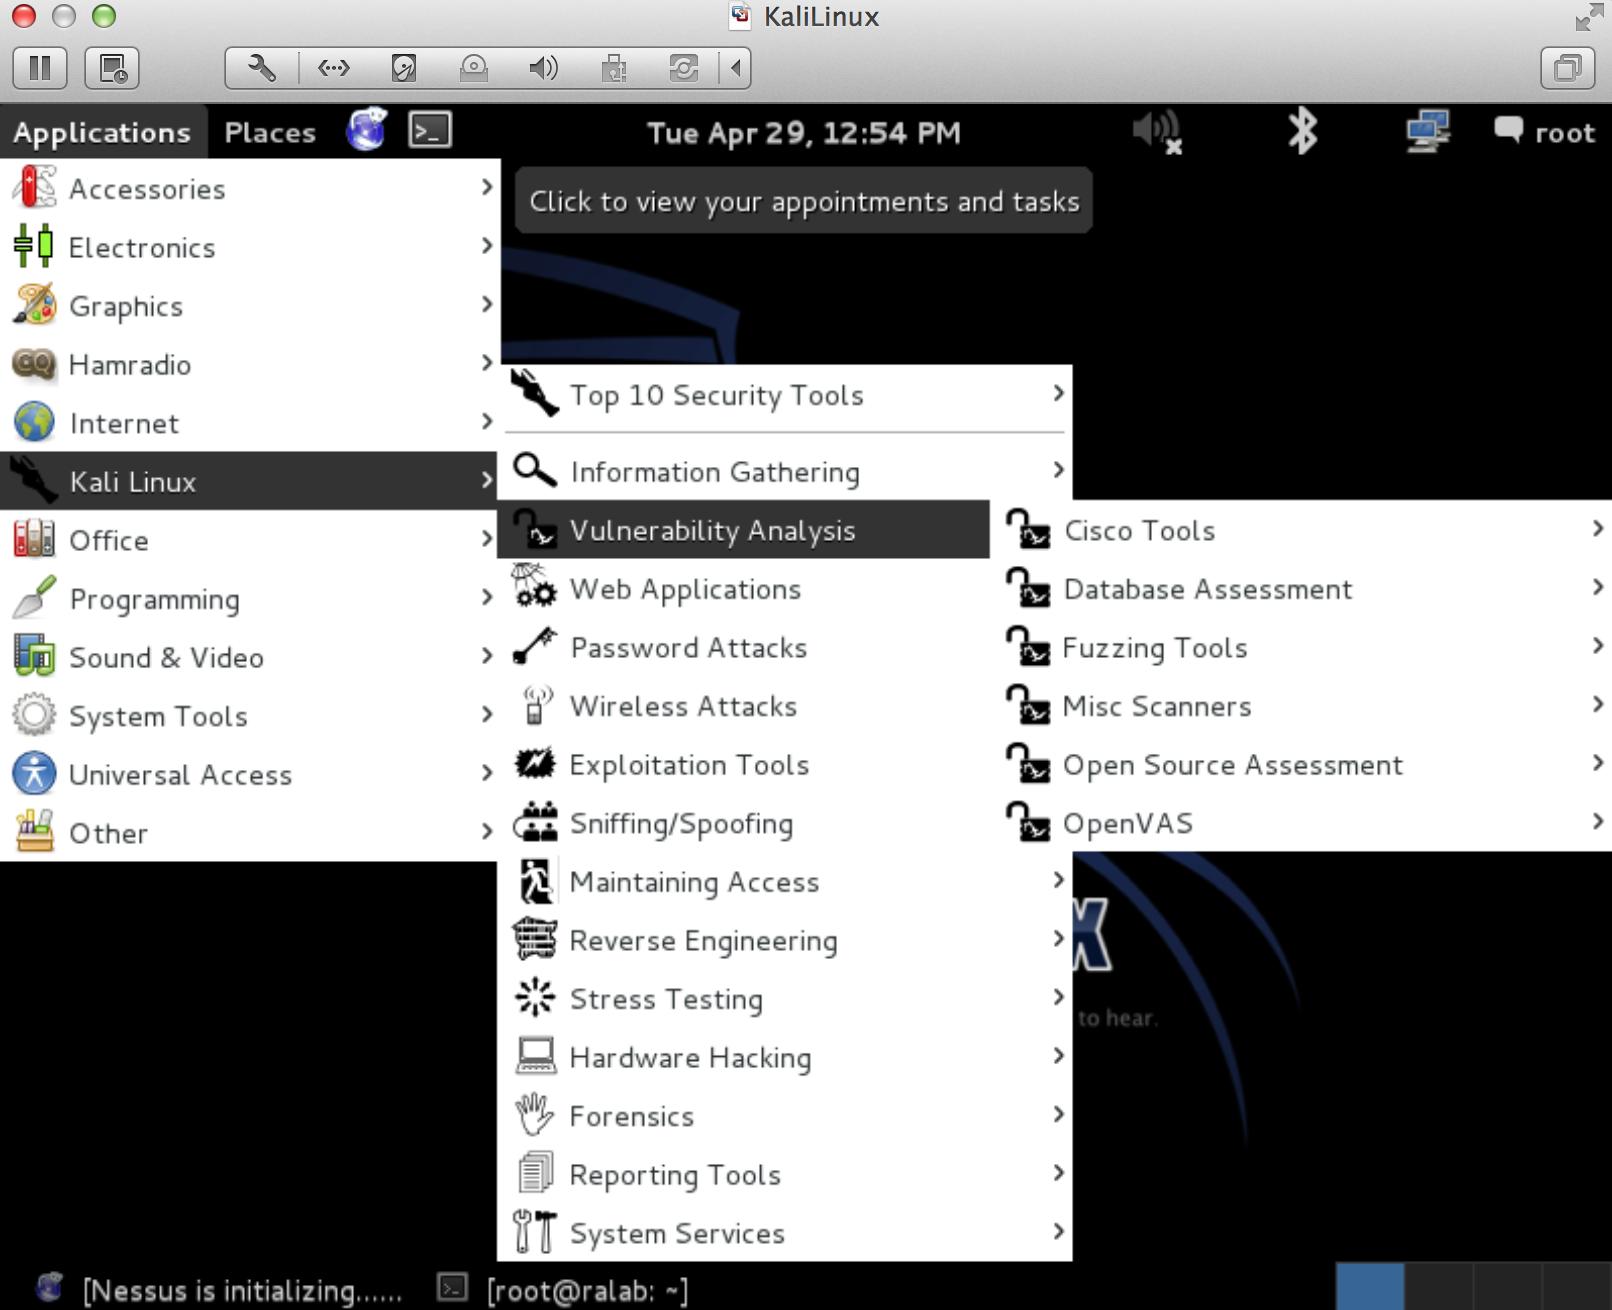
However you get access to other vulnerability scanners with Kali Linux. You get handfuls of vulnerability scanning tools ranging from nmap, database vulnerability analysis, cisco platform, fuzzing tools and other miscellaneous scanners, which helps in achieving the successful vulnerability assessment.
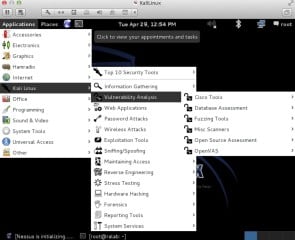
Figure 9. Vulnerability Analysis with Kali Linux
Installing Nessus on Kali Linux
Hey! As I already mentioned that almost all security experts use Nessus so I will not let you go without testing the Nessus flavor on Kali Linux. Lets quickly see how you can install Nessus on Kali in quick steps.
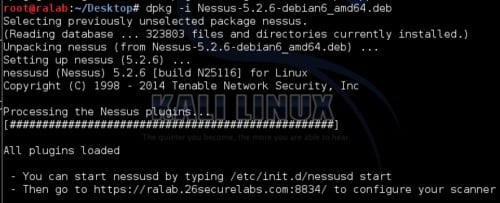
Figure 10. Download the latest Nessus Debian package from Tenable website. And as shown in the below figure install it through command line
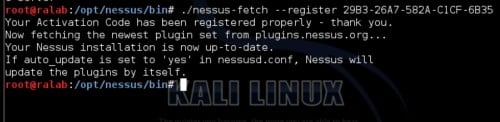
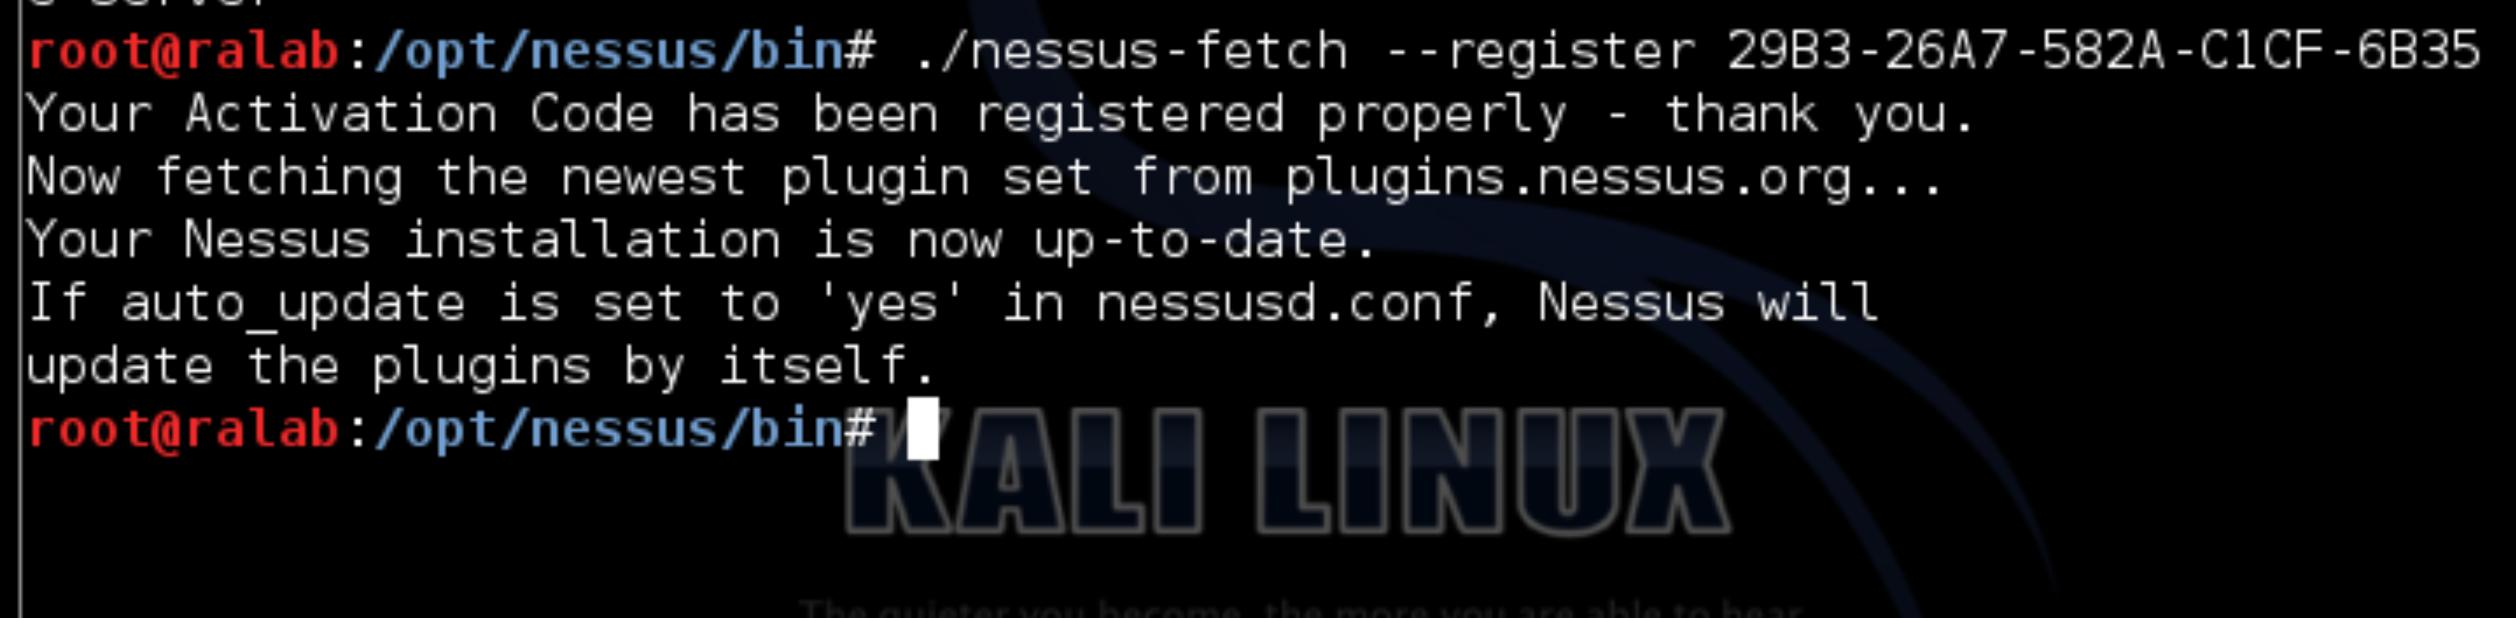
Figure 11. Next, you should have the Nessus registration key from tenable, which is easy to receive with home feed license. Now register your installation with tenable as shown in below figure
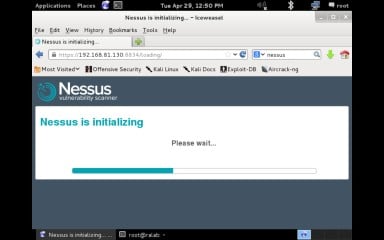
Figure 12. Now restart Nessus and access the your fresh installation of Nessus through the web interface
If everything goes well you should see the next screen to create your Nessus userID and password.
Hurrah – all working fine. Lets move to the final phase of the penetration testing part, which are the last and the interesting bit in interacting and testing your target.
Exploiting with Kali Linux
Metasploit the great penetration-testing framework that is widely used by penetration testers and security experts across the globe comes pre-installed with Kali Linux. However there is slight tuning, which is required before you start using it in your lab environment.
Starting Metasploit framework
In keeping with the Kali Linux policy, there are no network services, including database services, running on boot so there are a couple of steps that need to be taken in order to get your Metasploit framework to up and running with database support.
Start postgresql service by issuing command as follows:
root@ralab:# service postgresql start
With PostgreSQL up and running, we next need to launch the Metasploit service. The first time the service is launched, it will create msf3 database user and a database called msf3. The service will also launch the Metasploit RPC and Web servers it requires.
root@ralab:# service metasploit start
Now that the PostgreSQL an Metasploit services are running, you can launchmsfconsole and verify database connectivity with the db_statuscommand.
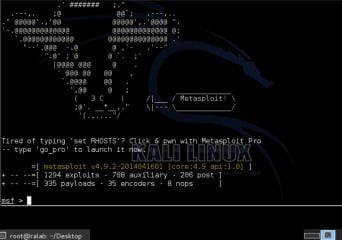
Figure 13. Here you go with the most popular exploitation framework for exploitation vulnerabilities with in your Kali Linux lab environment
Conclusion
This is a quick and detailed guide on how to perform penetration testing with Kali Linux and adding the world-class vulnerability scanner Nessus that doesn’t come by default with Kali Linux. What I have presented is just the beginning of exploring this world-class security distribution, which is widely used across the globe by information security experts.
Keep reading and exploring Kali Linux. Come back soon for more fun and learning!
And it is all why hackers use itt.......
Hope u will understand this all ....





Comments
Post a Comment